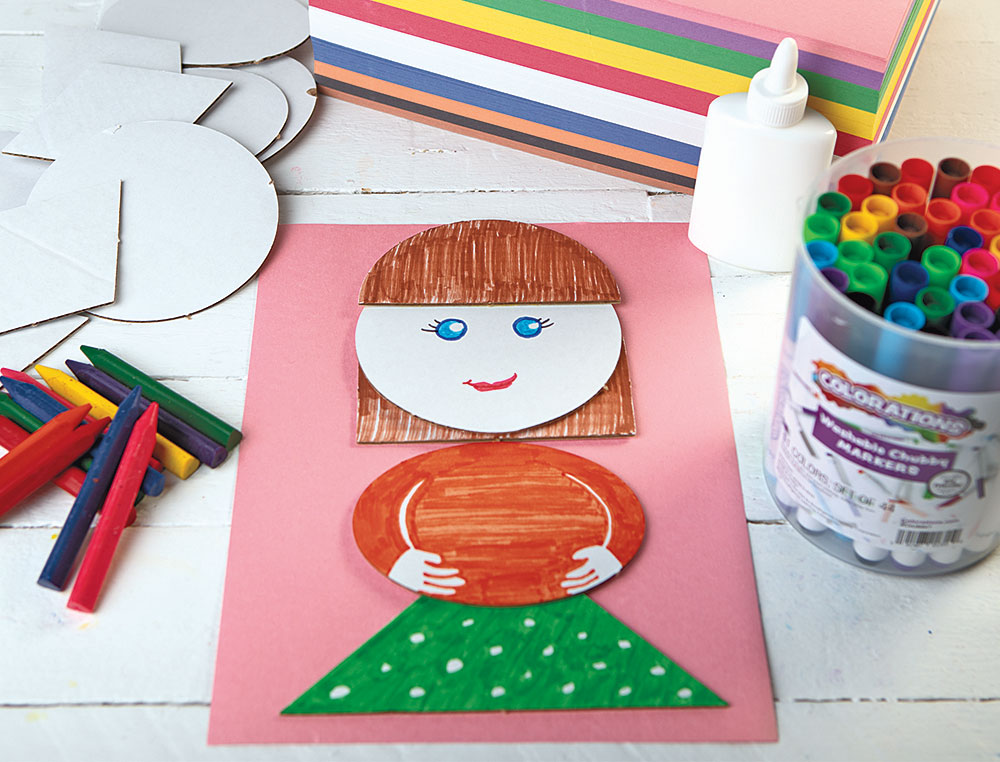
Shaping a Self Portrait
15-30 Minutes: 4 and up: STEM
Shaping a Self Portrait
Intro
Unlock the abstract mind of young children! While learning about shapes, children can take this activity to make further observations and discoveries about the world around them and themselves.
Set Up Ideas
Help children recognize the basic shapes in our environment by preparing cut-out shapes in all different colors and sizes.
Let’s Get Started
Present a variety of pre-cut shapes made from different colors of construction paper. Create shapes the children are already familiar with or create a learning opportunity for new ones! Each child will receive their own canvas (a large piece of art or construction paper), glue or glue sticks and crayons.
STEP 1
Begin by discussing different facial features and body parts. Have the children point out their own individual features.
STEP 2
Explain that for this activity they will be creating a collage portrait of their face (and/or body) using just basic shapes in different colors and sizes.
STEP 3
Distribute to each child the canvas to create their portrait and provide them easy access to the prepared shapes that have been cut.
STEP 4
Using the glue, have the children be creative in the way they create their portraits. The adult should refrain from suggesting which shapes the children should use (e.g., “Why don’t you use an oval for the head.”) to allow for open creativity.
Allow the children to be open and discuss their portraits and the shapes they chose. Connect how these shapes are seen in everyday life. For instance, “what shape is the table you’re drawing on?” or “what shape is the door?”
![]()
Tips and Tricks
A variety of colors and shape sizes allows for more creative expression! Have the children sign their portrait like an artist signs their work.
![]()
Follow up Activity
The children may use crayons, markers or paint to finish any additional details they would like to add to the picture.


Comments are held for moderation, thank you.