DIY Foam Stampers
10-15 Minutes: 4 and up: Stamping
DIY Foam Stampers

Intro
Don't have exactly the stamper that you're looking for? Make it yourself using foam cubes, foam sheets, foam shapes and more! This activity is a fun way to demonstrate how children can make their own unique tools for artmaking.
Set Up Ideas
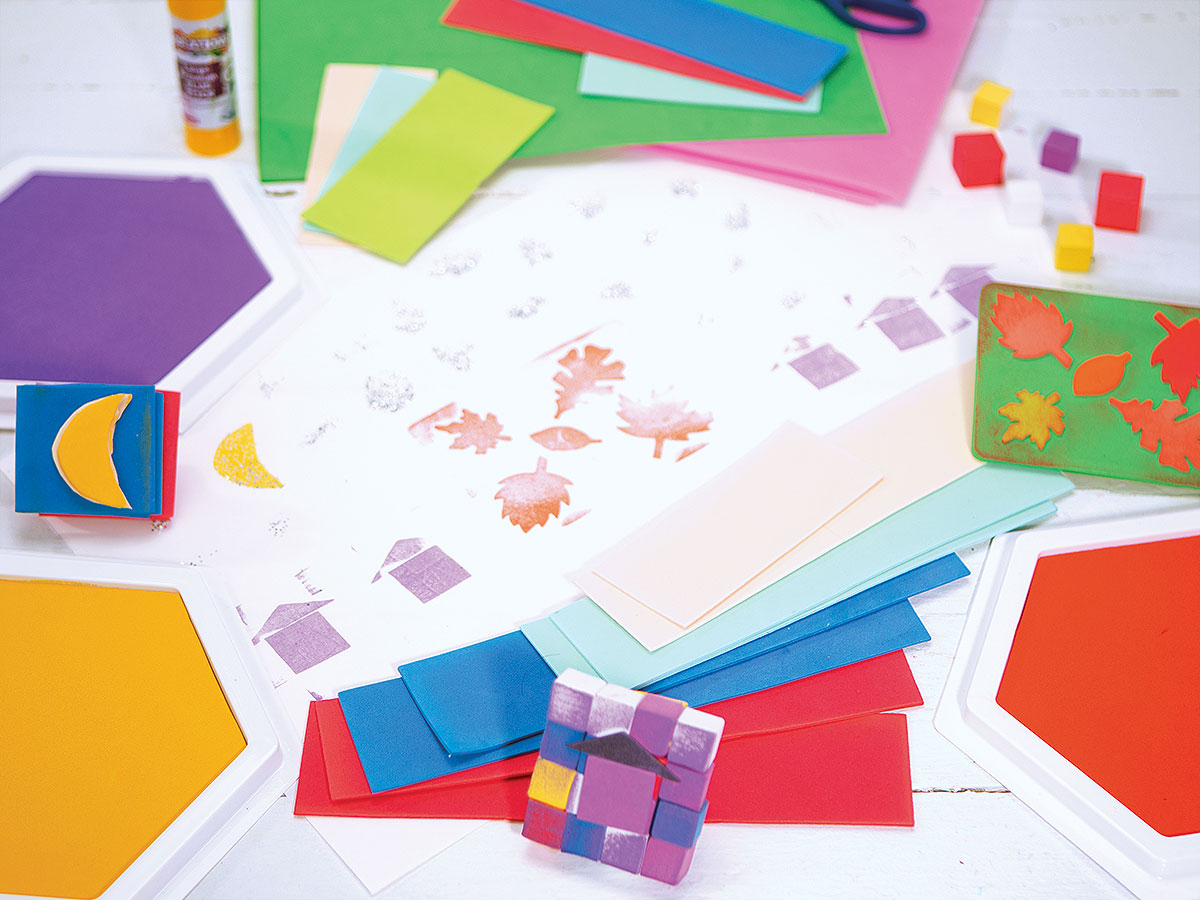
Have a variety of foam items for stamper bases like cubes and foam sheets and have a separate tray or area with shapes to make the actual stamper patterns. Use glue sticks for non-sticky foam shapes.
Let’s Get Started
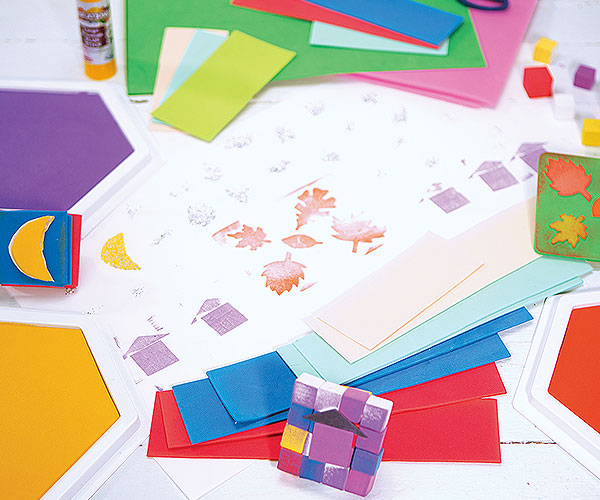
The main ingredient in this activity is foam! To create your own unique stampers, you'll need to gather foam cubes, sheets, various unique foam shapes and glue. You may use pre-cut foam shapes or cut your own from foam sheets!
STEP 1
In this open-ended activity, children can experiment with creating their own stampers. Below are a few guidelines, but encourage out-of-the-box thinking.
STEP 2
Give kids an example of bases by sticking foam cubes together to create the desired size, cutting foam sheets to the desired size, etc.
STEP 3
Show kids how to either paste or stick on letters, shapes and more to create the stamper they want.
STEP 4
Have the children test their creations and practice by making pictures using the unique stampers they've created.
Talk about inventions and how inventions are made from necessity and a lack of solution. If you don't have something you need, try making it first! You can also discuss how rather than throwing things away, sometimes we can reuse them in unique ways.
![]()
Tips and Tricks
Get creative with the shapes you use. Pre-cut foam shapes are great for well-defined objects, but creating your own shapes from foam sheets or other materials can produce interesting results.
![]()
Follow up Activity
Reusing materials is a great way to "do something new with something old." Encourage children to try doing something new with something old and then tell the class about it.


Comments are held for moderation, thank you.