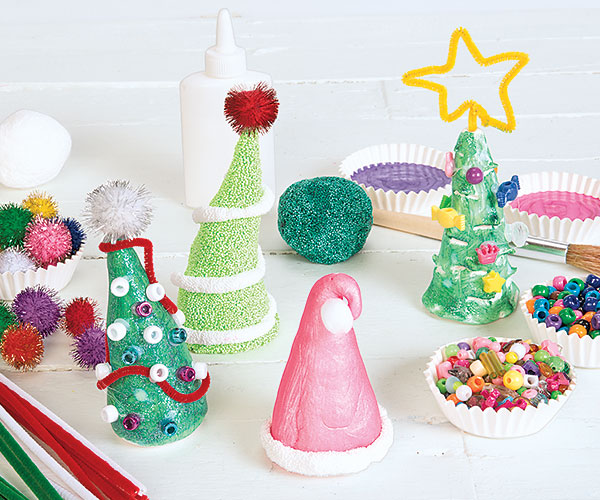
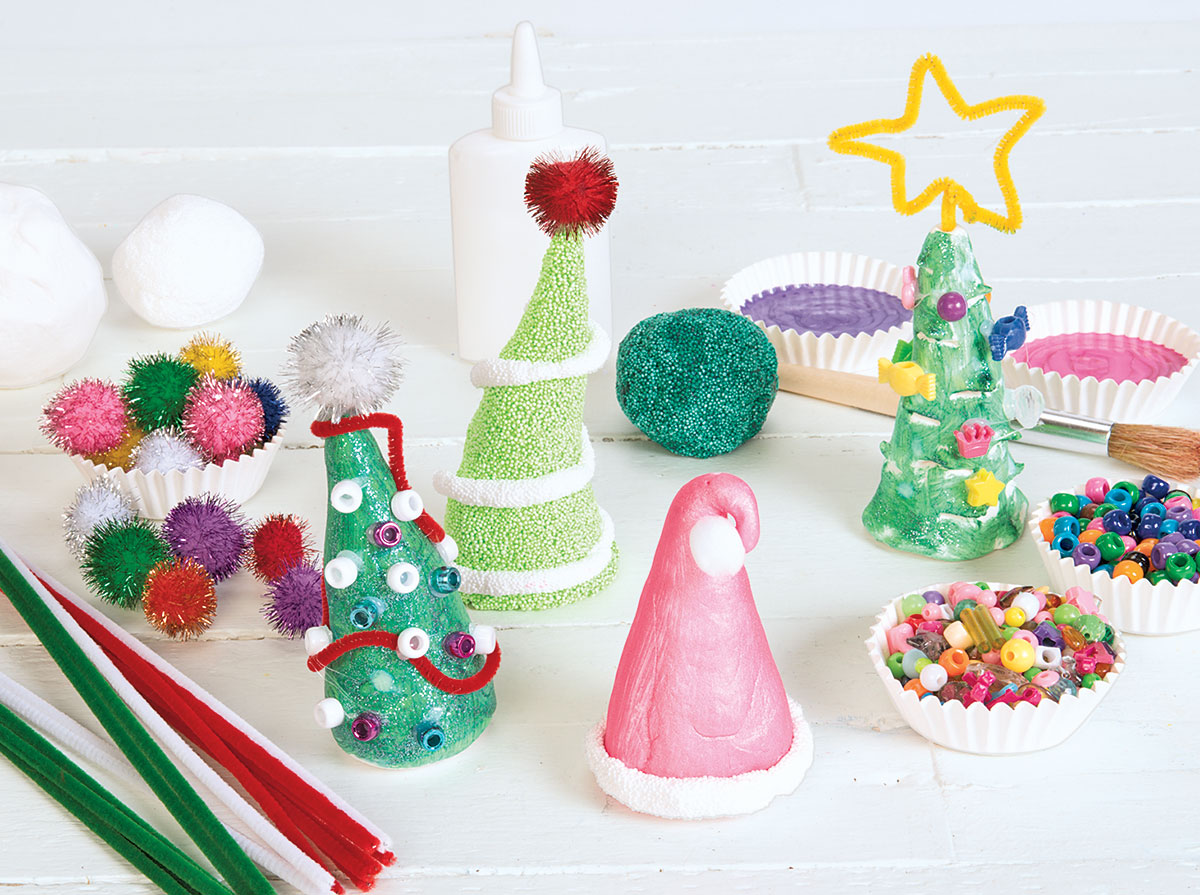
Clay Christmas Trees and Hats
30 Minutes: 4 and up: Holiday
Clay Christmas Trees and Hats

An Activity for School Age children:
Form clay into festive trees and hats for a spectacular display!
Before You Begin:
To get started creating your festive classroom display, you'll need to gather air-dry clay, paint, pipe cleaners and any collage materials desired. For this activity, each package of air-dry clay will make one tree or hat.
This activity requires overnight drying, so prepare a space in advance where you can place the in-progress crafts.
Activity Goals:
To create a festive, personalized craft.
To develop fine motor skills, gross motor skills, imagination, creativity and shape recognition.
Furthermore:
While children's clay should be molded into a general cone shape, encourage them to experiment with making them wavy, straight, pointed, rounded, thin, fat or whatever style they may choose.
Let's Get Started
STEP 1
Each child should receive one package of air-dry clay and form it into a cone shape. They may complete the remaining steps either before or after the clay has dried.
STEP 2
If using white clay, paint the trees or hats in the color desired. You may do this while the clays is still wet or after it has dried.
STEP 3
Add decorative stones, gems beads or other collage items by pushing them into wet clay or gluing them onto dry clay.
STEP 4
Add any other decorative items, and then arrange a festive classroom display once the crafts are dry.
STEP 5
Tie string to the top of the tree or glue magnets to the back for a festive hanging or magnetic ornament.


Comments are held for moderation, thank you.