Rainbow Weaver
15-20 Minutes: 4 and up: Learning - Motor Skills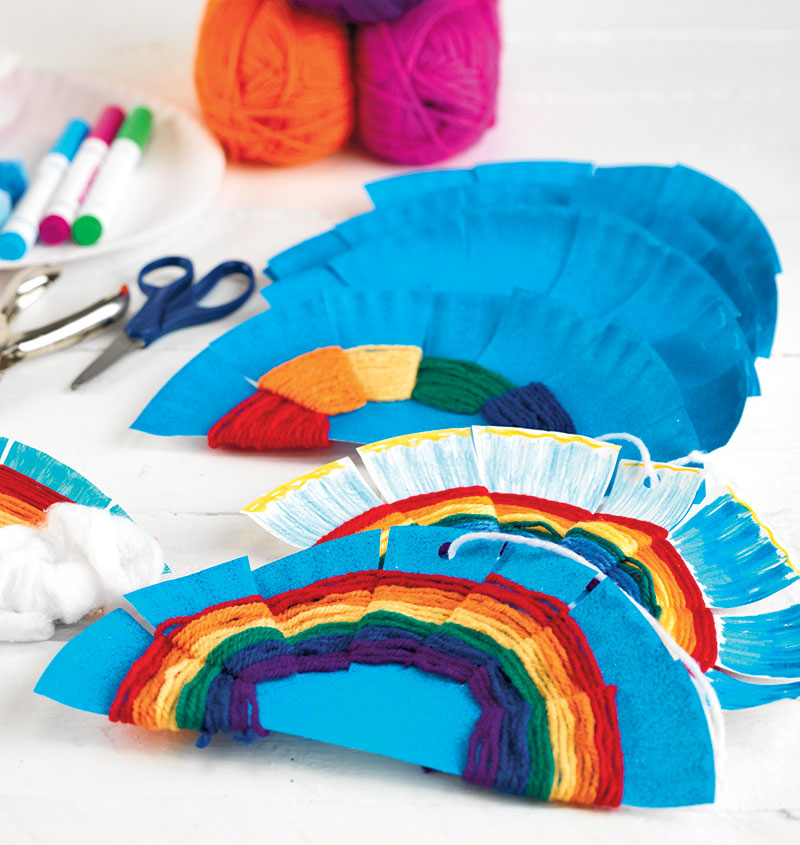
Rainbow Weaver

Intro
Weaving activities provide so many opportunities for learning and skill development! As children weave these lovely rainbows, they’ll be learning about colors and a classic artform while also building critical fine motor skills.


Set Up ideas
This activity requires minimal setup. Depending on the time available and the abilities of the children, you may wish to cut the yarn into set lengths ahead of time. Otherwise, ensure that children have easy access to yarn and scissors for quick, easy snipping.
Let’s Get Started
As children weave their way through this activity, they may need help tying knots from time to time. Encourage them to try their best, but be sure to offer assistance when needed so that children don’t become discouraged.
STEP 1

Cut a paper plate in half and color it sky blue with markers, crayons or paint.
STEP 2

Cut 6 slits about 2/3 of the way from the outside of the plate towards the center. Envision the shape of a rainbow as you cut along.
STEP 3

Cut a small slit in the bottom of the plate straight up and down to secure the first row of color.
STEP 4

With the rainbow colors in mind, begin weaving by placing the end of the purple yarn through the small vertical slit on the bottom center of the plate.
STEP 5

Begin weaving the purple yarn over and under each of the 7 pieces of the plate. Weave your way to the end and back again to make a full line of color. Repeat this so that there are 3 strands of color. Weave the next color, tie the end of string on the back side and pull through the front to begin weaving as before. Continue with each color until all strings are fastened. Punch a hole in the plate and use an additional strand of string to hang the rainbow on display!
While the primary skill focus in this activity is fine motor skills, now is also a good time to discuss the colors of the rainbow. You may teach children the initialism “ROYGBV,” which stands for red, orange, yellow, green, blue and violet.
![]()
Tips and Tricks
For a fluffy addition, add white pom poms or cotton balls to represent clouds. And for a more finished look, consider using paper fans instead of paper plates.
![]()
Follow up Activity
Continue your exploration of colors by talking about the Color Wheel and show- ing how colors can be mixed to create new colors.

Comments are held for moderation, thank you.