Shoe Print Putty
4 and up: Open Ended: Two Sessions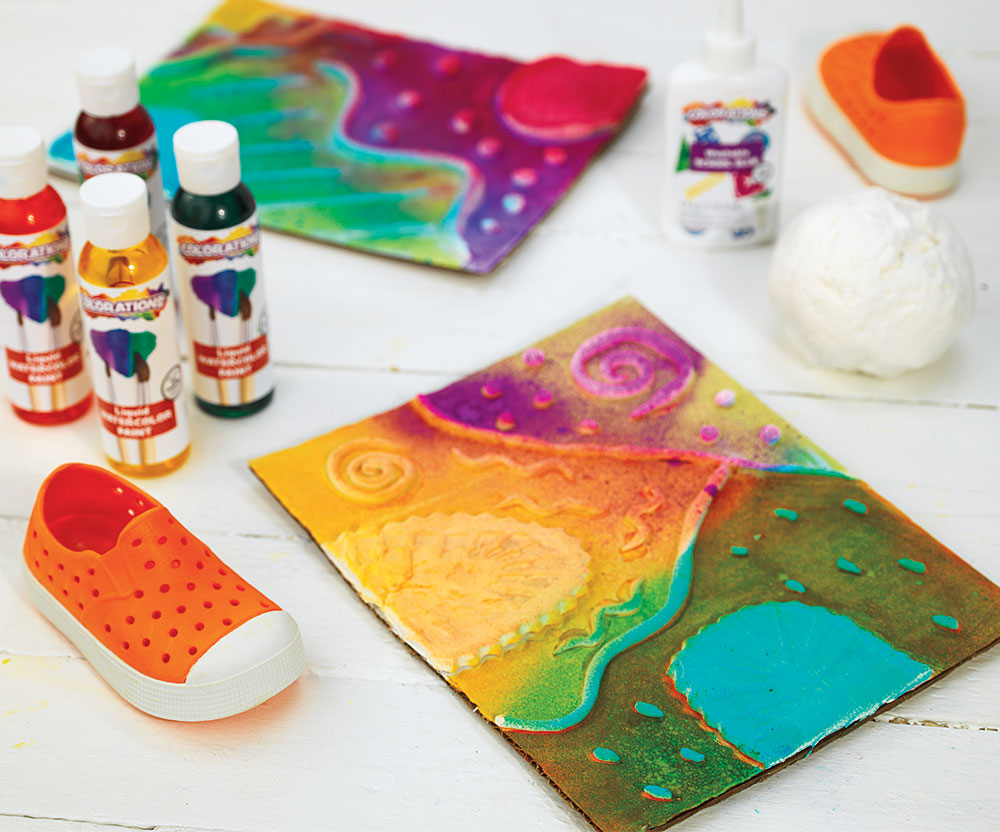
Shoe Print Putty
Intro
Putty offers benefits for children of many ages. Younger children benefit from the sensory play and exercise of squeezing putty and older children are able to express themselves creatively by molding. This shoe print putty can serve as a cute classroom decoration or sentimental gift for parents.
Set Up Ideas
Before beginning this activity, ask children to think about the impact that they make on others. Explain how the art that they are about to create is going to represent the impression that they make on the world.
Let’s Get Started
After gathering all required supplies, be sure to clean the children's hands and shoes to prepare them to create their shoe print putty project. You do not want dirt and debris to be stuck in the putty. Sneakers work best for this project.
STEP 1
Give a fistful of putty to each child. Demonstrate rolling the chunks of putty into “snakes.” Encourage children to play with the clay. They may choose to create different shapes and patterns.
STEP 2
Once the children have created shapes that they like, show the children how to place their foot on the putty to leave their print. Have them follow suit.
STEP 3
Punch a hole in cardboard and cover the board with glue. Help the children press their footprint impressions onto the board. Create designs with excess putty and stick around footprint.
STEP 4
The next day (when putty has dried), have children decorate their shoe prints. Paint, markers or bingo bottles typically produce the most vibrant results.
It's important to learn how our actions impact others. Allow their footprints captured in the putty to serve as a teaching tool to explain the impact that they have on the people in their lives. Ask children how they can make a positive “footprint” on the world they live in.
![]()
Tips and Tricks
Color your putty before making the impressions by blending in a few drops of Liquid Watercolor™. You can do this by rubbing the dye into the putty with your fingertips.
![]()
Follow up Activity
Putty can be used to make a fun set of writing tools for the classroom Color your putty beforehand. Instruct children to create very thin “snakes” out of the putty and coil them around your selected writing utensil.

Comments are held for moderation, thank you.